My First Android App
Project Summary
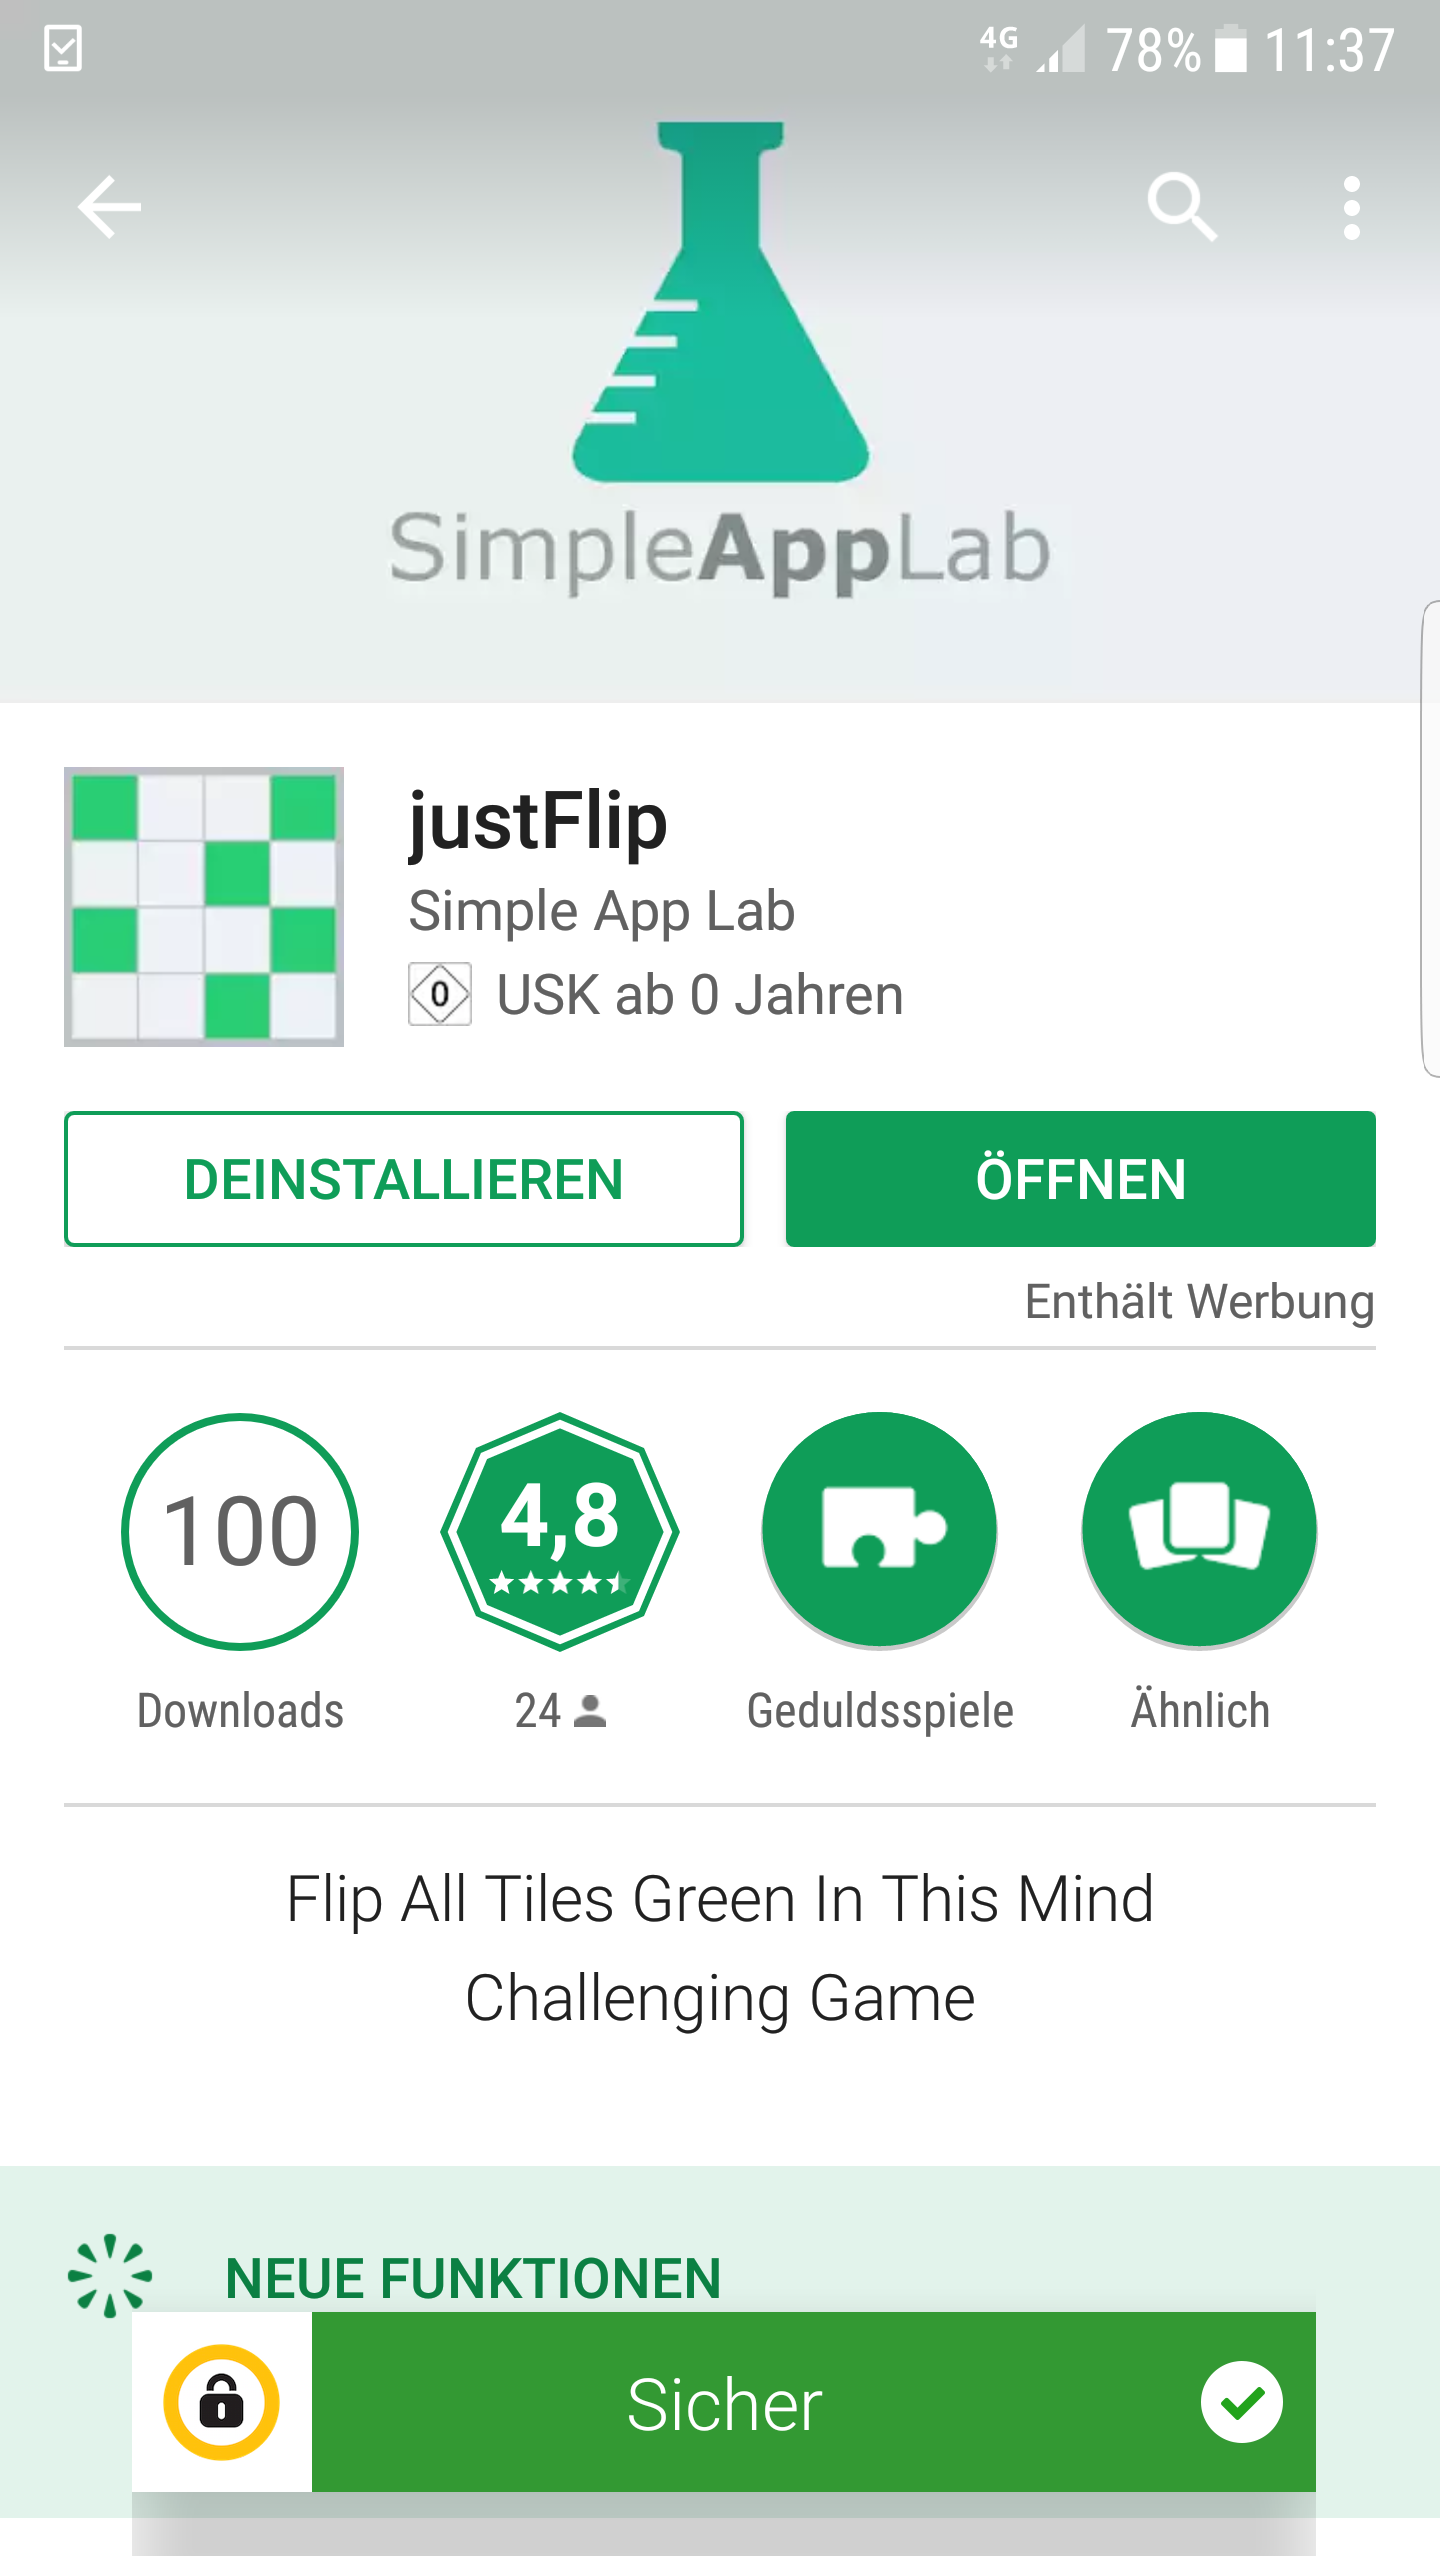
It was Christmas time a couple of years ago when my brother and I decided to explore the world of Android app development. Apps such as Flappy Bird scoring enormous amounts of downloads had just shot to fame. “How difficult can it be?” we thought and tried to come up with ideas of our own simple game. After a couple of days of coding we published our first free to download Android app justFlip at both Google Play and Amazon.
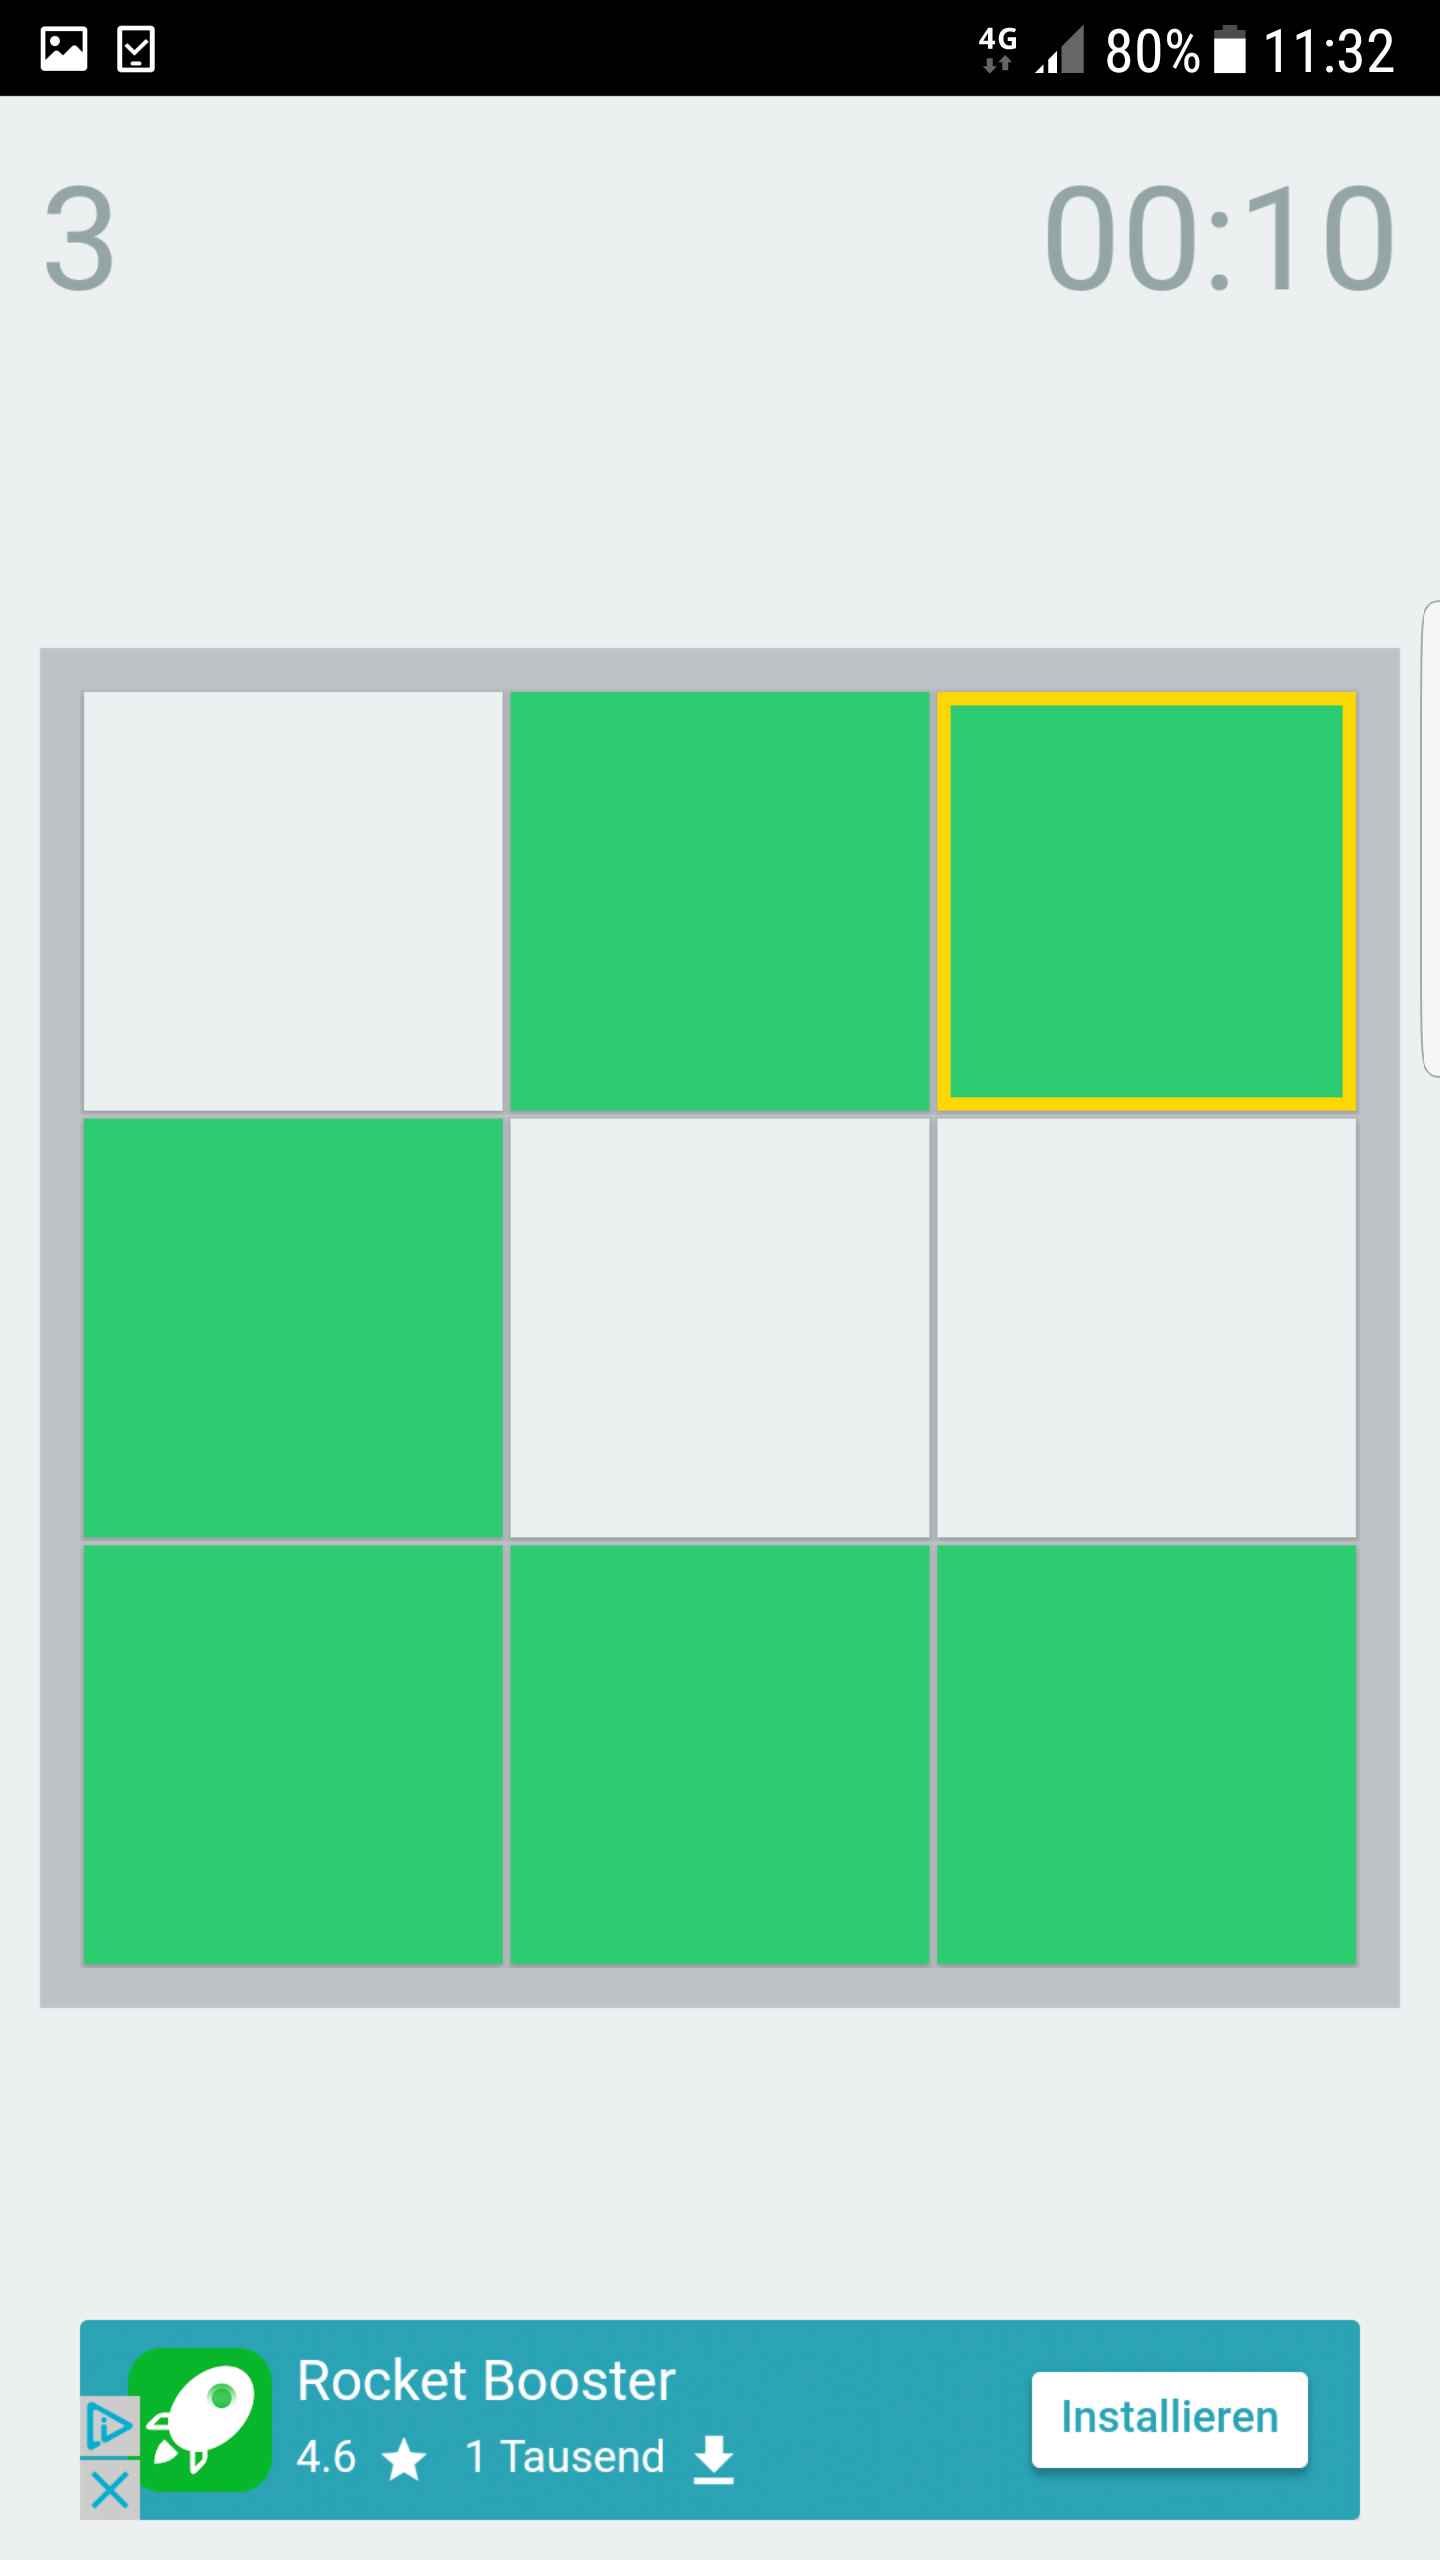
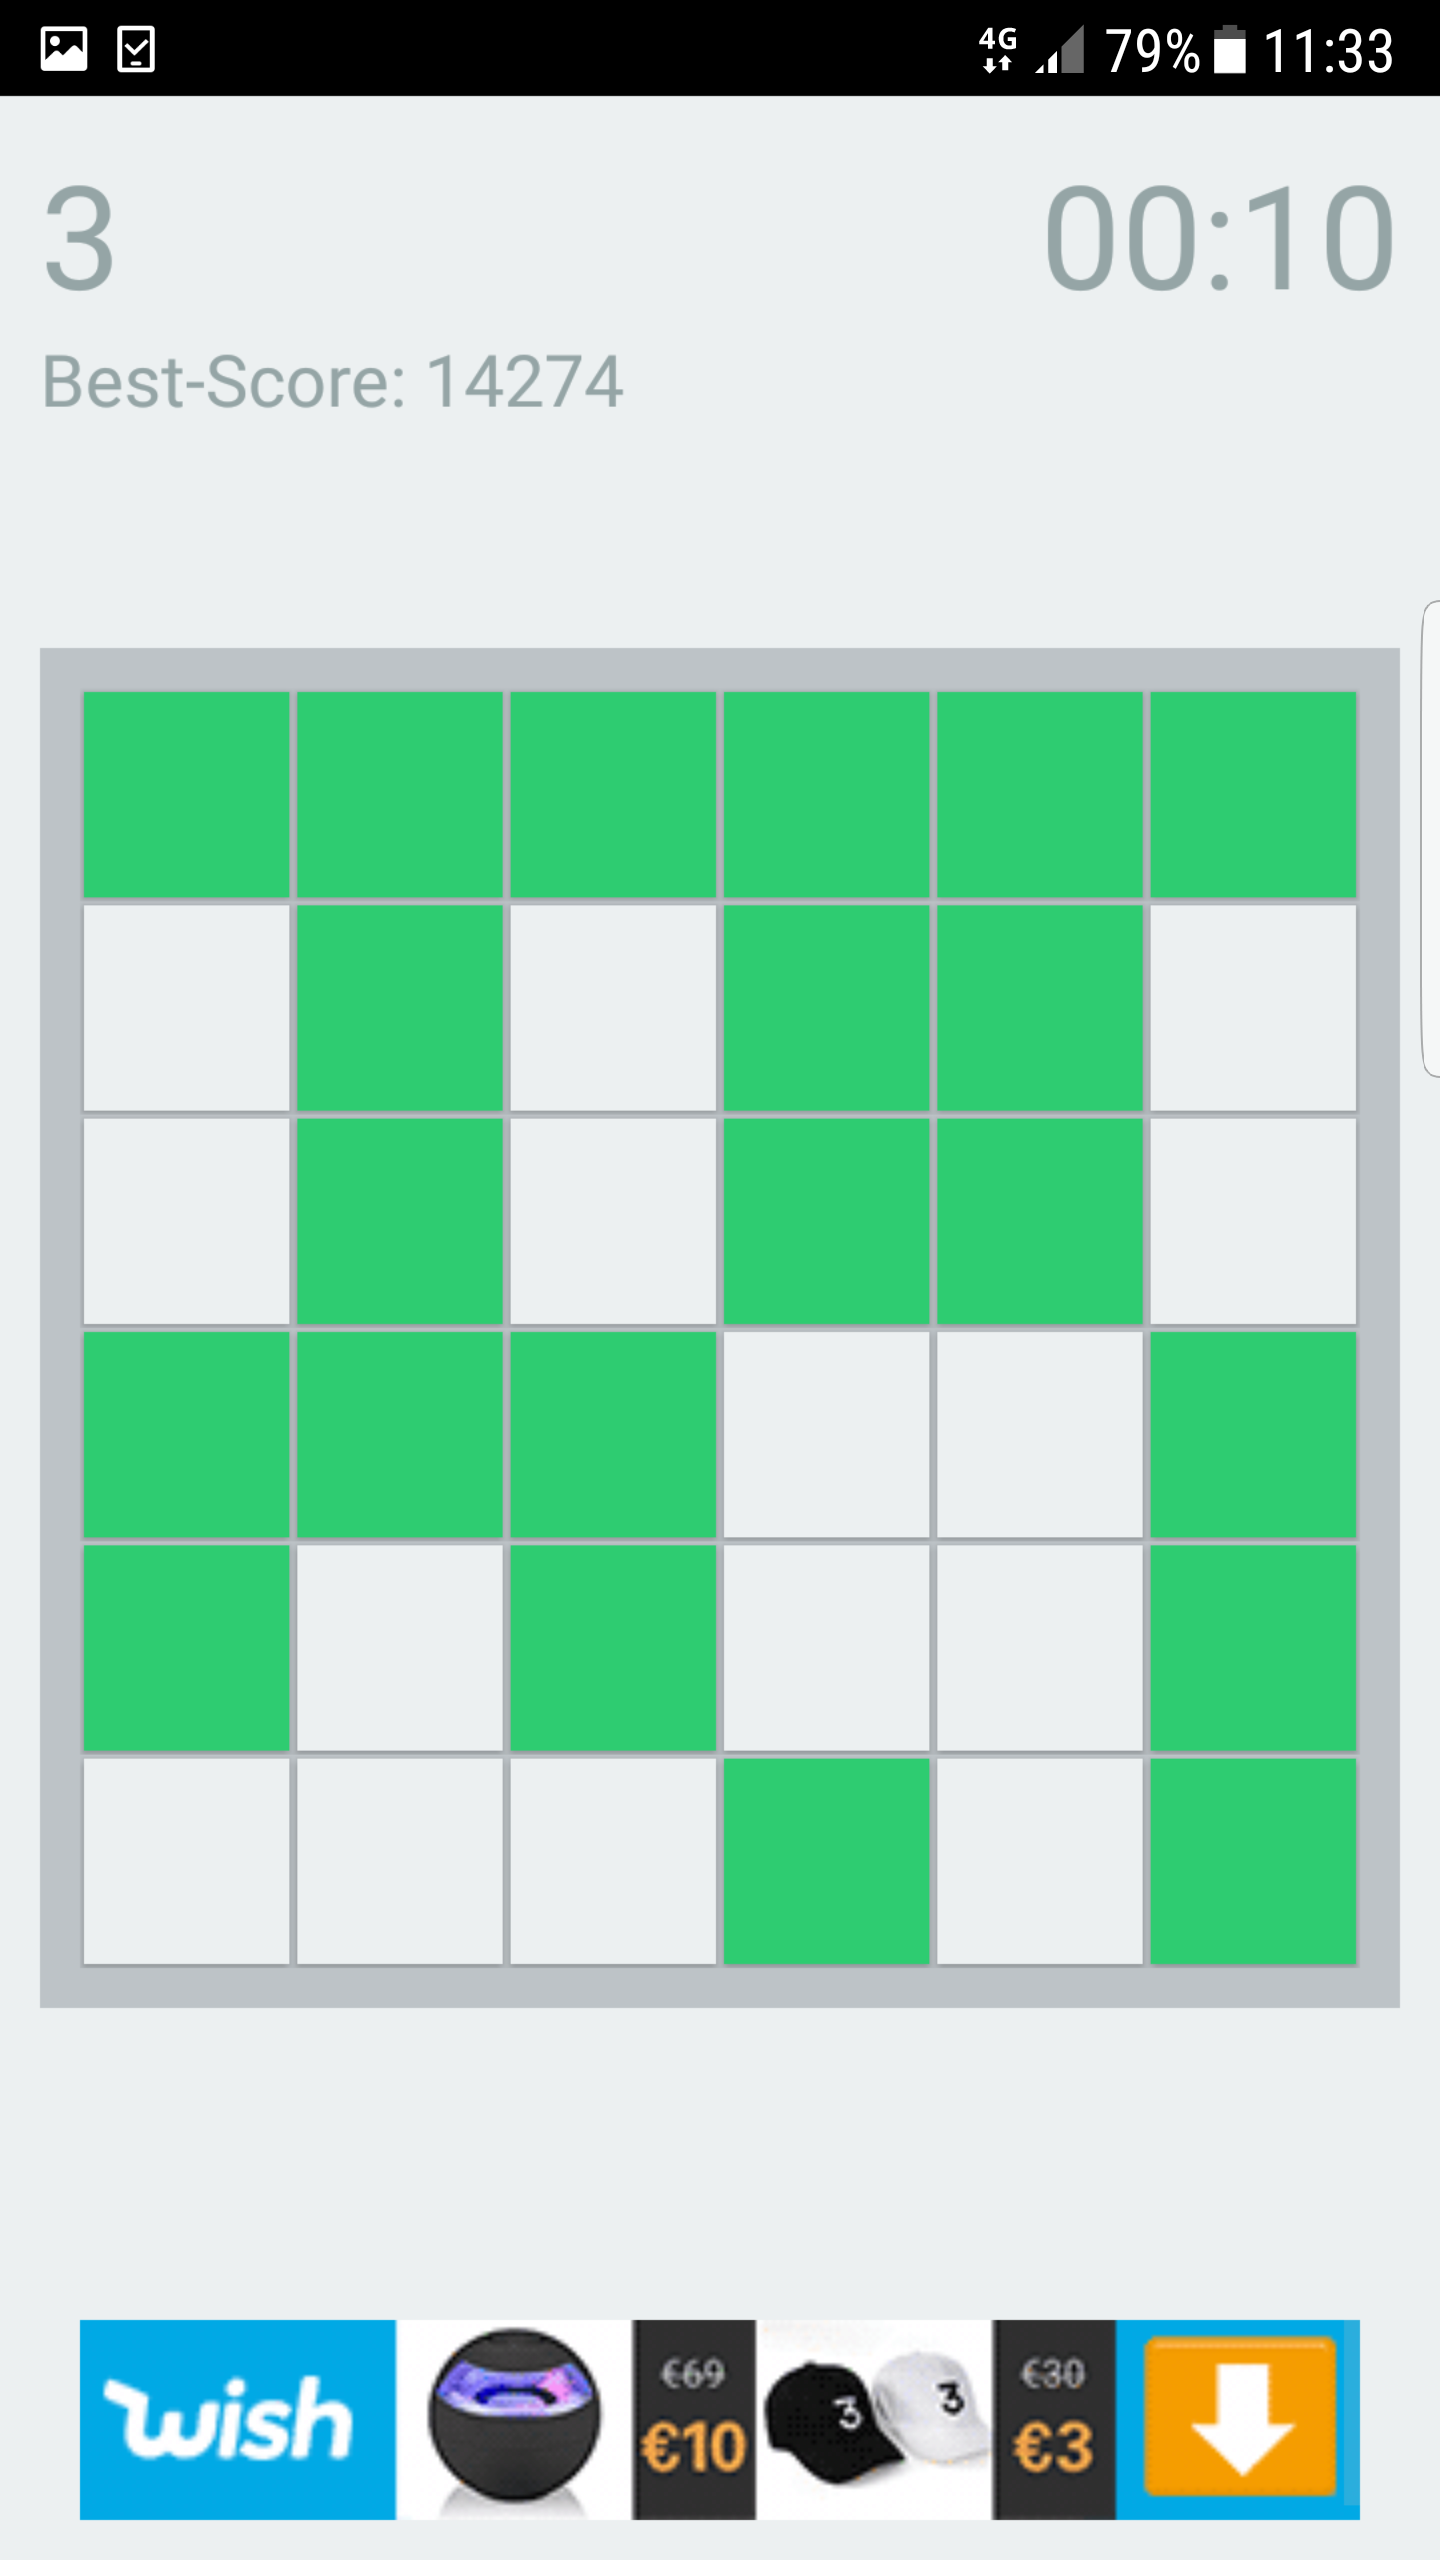
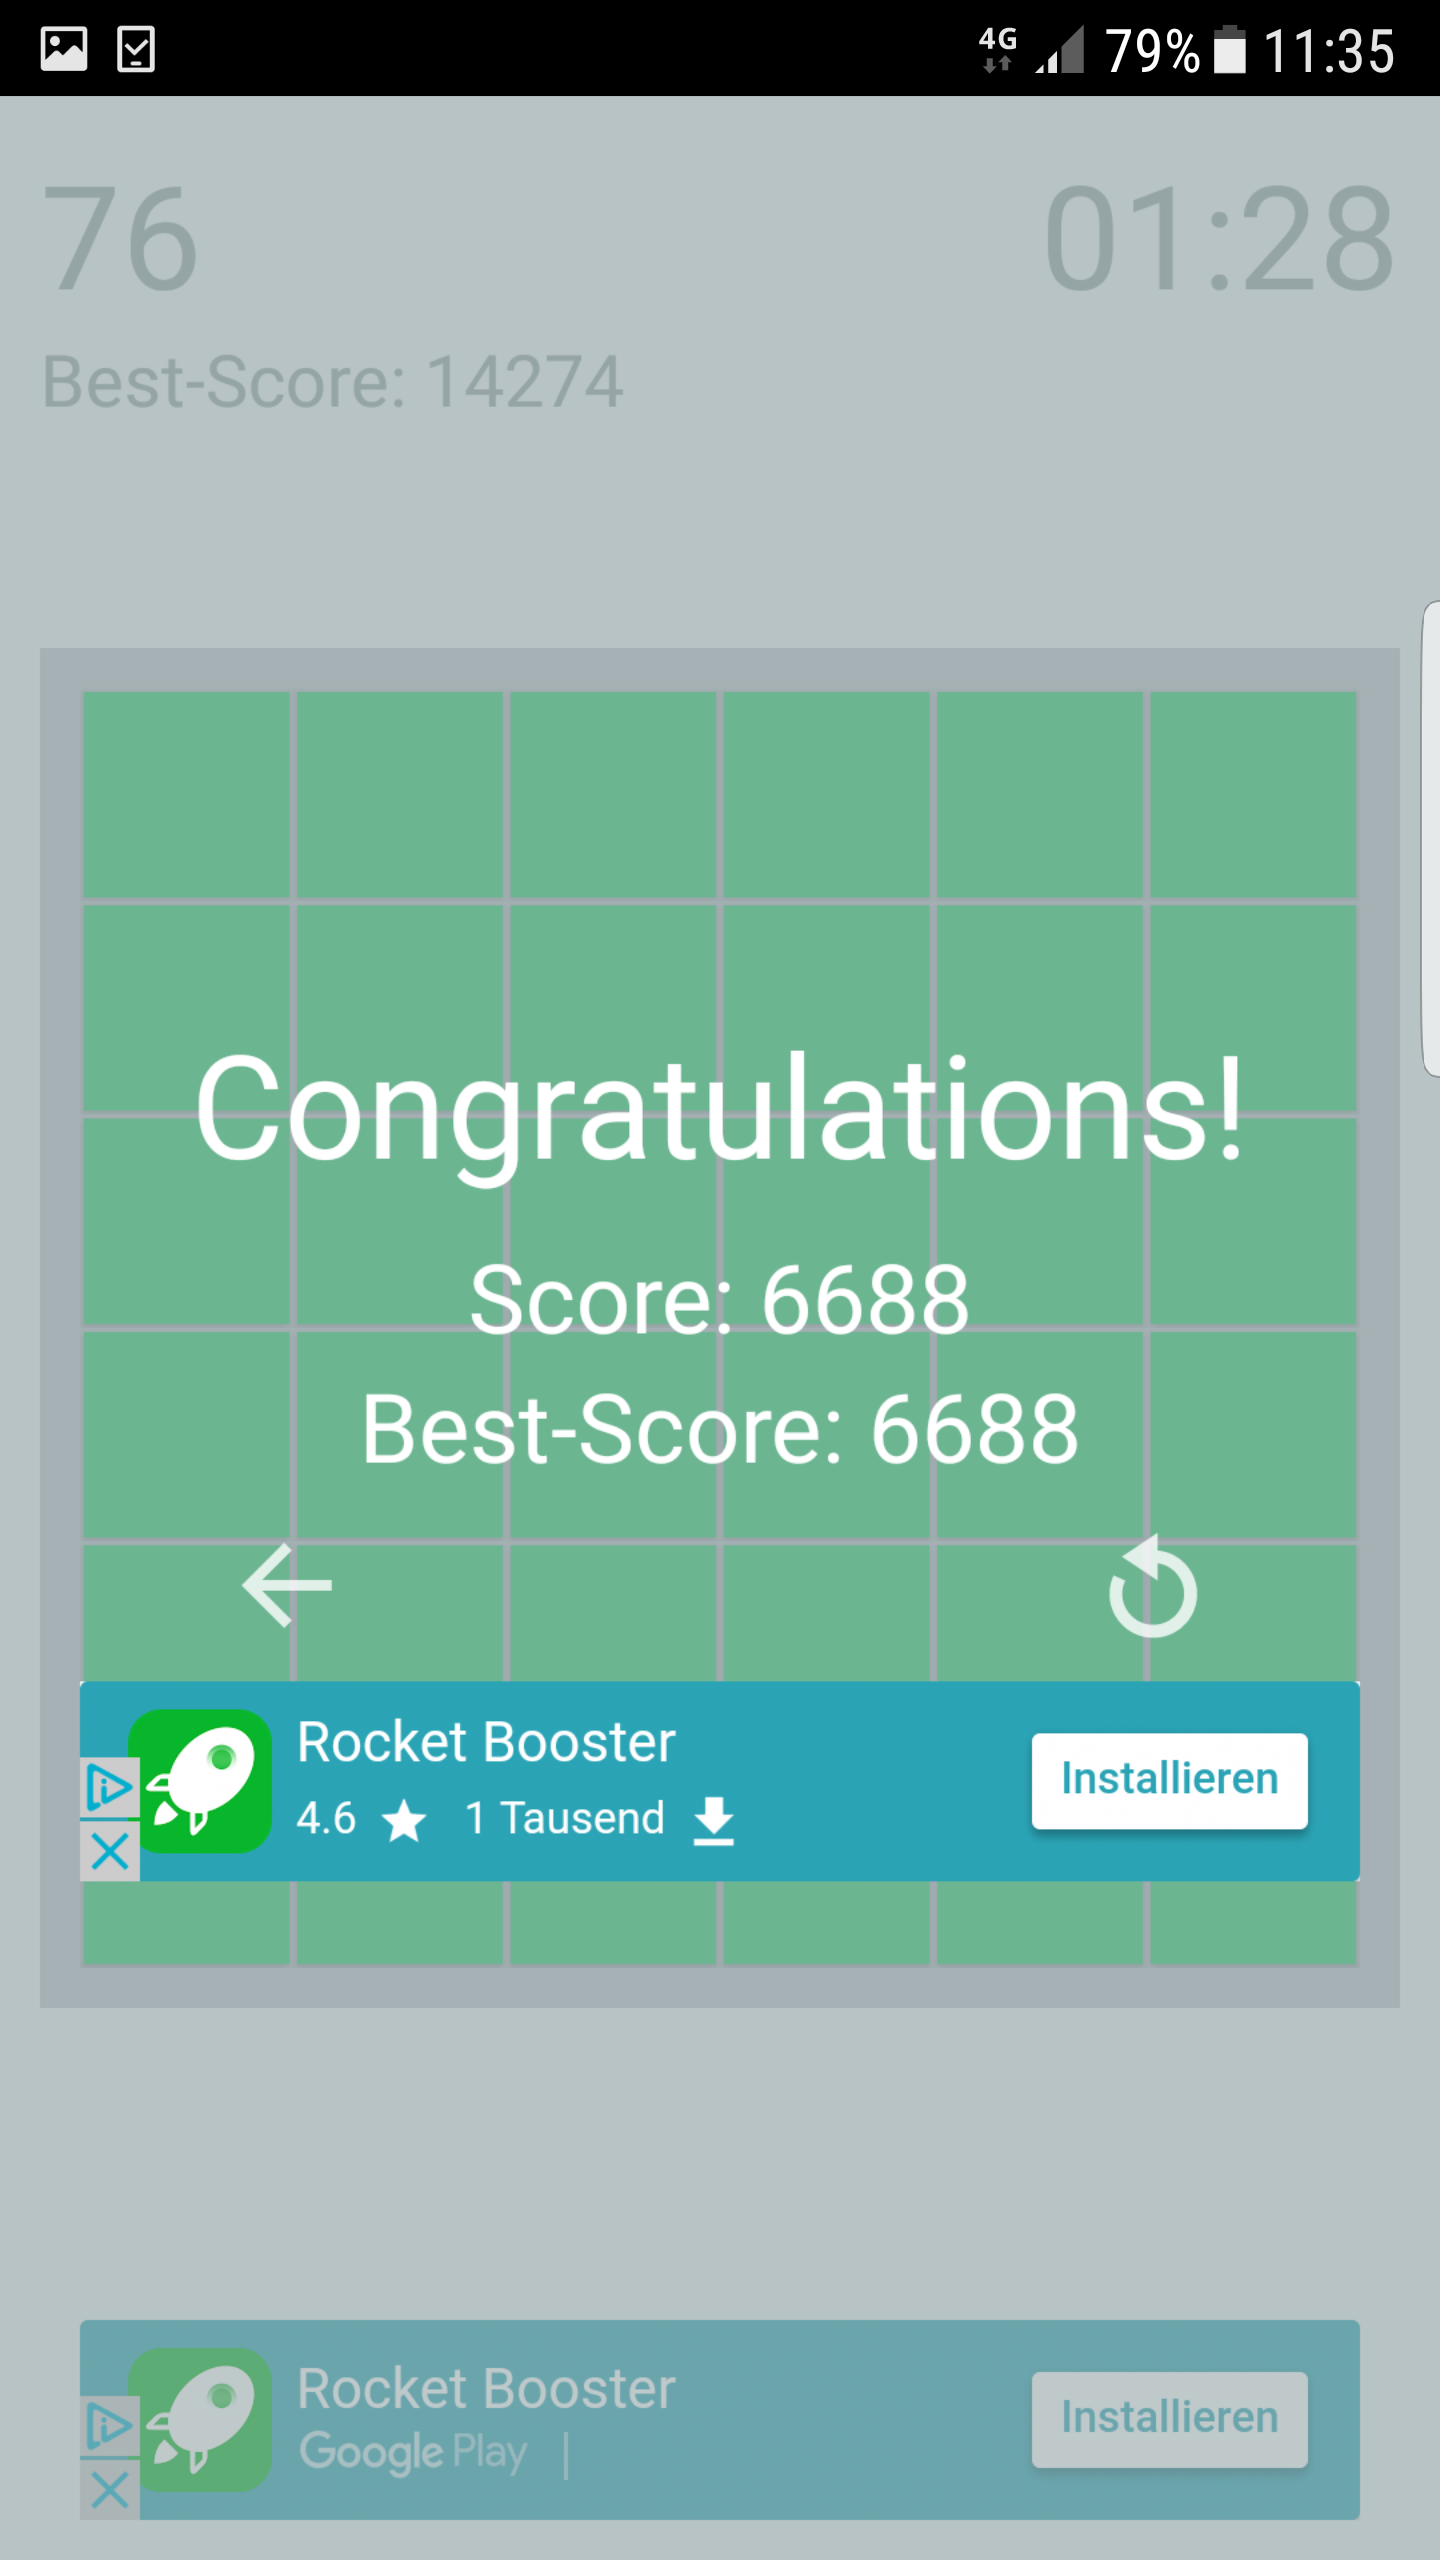
The game’s concept is simple: At a board of 4x4, 5x5 or 6x6 tiles, a certain number of tiles is coloured green, the remainder is white. When tapping a tile, the tile itself plus all horizontally and vertically adjacent tiles flip their colour. Thus white tiles become green and vice versa. You win the game if all tiles are green. The less time and taps you require to achieve this, the better. A corresponding score is calculated and saved to your phone memory so that you can compare to past performances.
If you would like to give it a try, check out Google Play or Amazon:
In the end only a few 100 people downloaded the app. Nonetheless we had lots of fun developing and publishing it. We also learned quite a lot on an app’s life cycle. Here are some starting points for anyone interested in starting Android app development:
- Implementing the app: Android offers a bundle of very useful tools for app development called Android Studio. The app’s layout is created with XML, for the back end a variety of programming languages are available. We used Java to implement the actual logic. Besides the IDE Android Studio features many additional tools such as an emulator for multiple Android devices and a real-time profiler.
- Testing the app: You could either use the Android Studio emulator to test your implementation on different screen sizes, Android versions or hardware configurations. This is very RAM-extensive. From my experience 8 GB to 16 GB RAM are mandatory. Alternatively, you could active the Developer Options on your smartphone and connect it to Android Studio via USB.
- App pricing: Once you are done implementing the app you have to decide whether to offer it for free or not. If you decide to not charge the download you could still monetise the app by showing advertisement to the user. For more details on monetisation of Android apps check this guide.
- Publishing the app: Google Play Console allows you to easily publish your app, track downloads and revenues and access lots of statistics on your app.