Git Server on Raspberry Pi
Project Summary
Setting up your own physical Git server on a Raspberry Pi is easy. It is also a fun project to get to know the Pi cosmos. In this “images first” tutorial I will show all relevant steps, at least the ones that worked for me.
All steps presented here build on my personal setup consisting of a Windows 10 notebook, a Raspberry Pi 3 Model B and work without an additional USB mouse or USB keyboard for the Pi.
If you are new to the version control system Git, I highly recommend checking out the following tutorial. Its name says it all.
Hardware Requirements
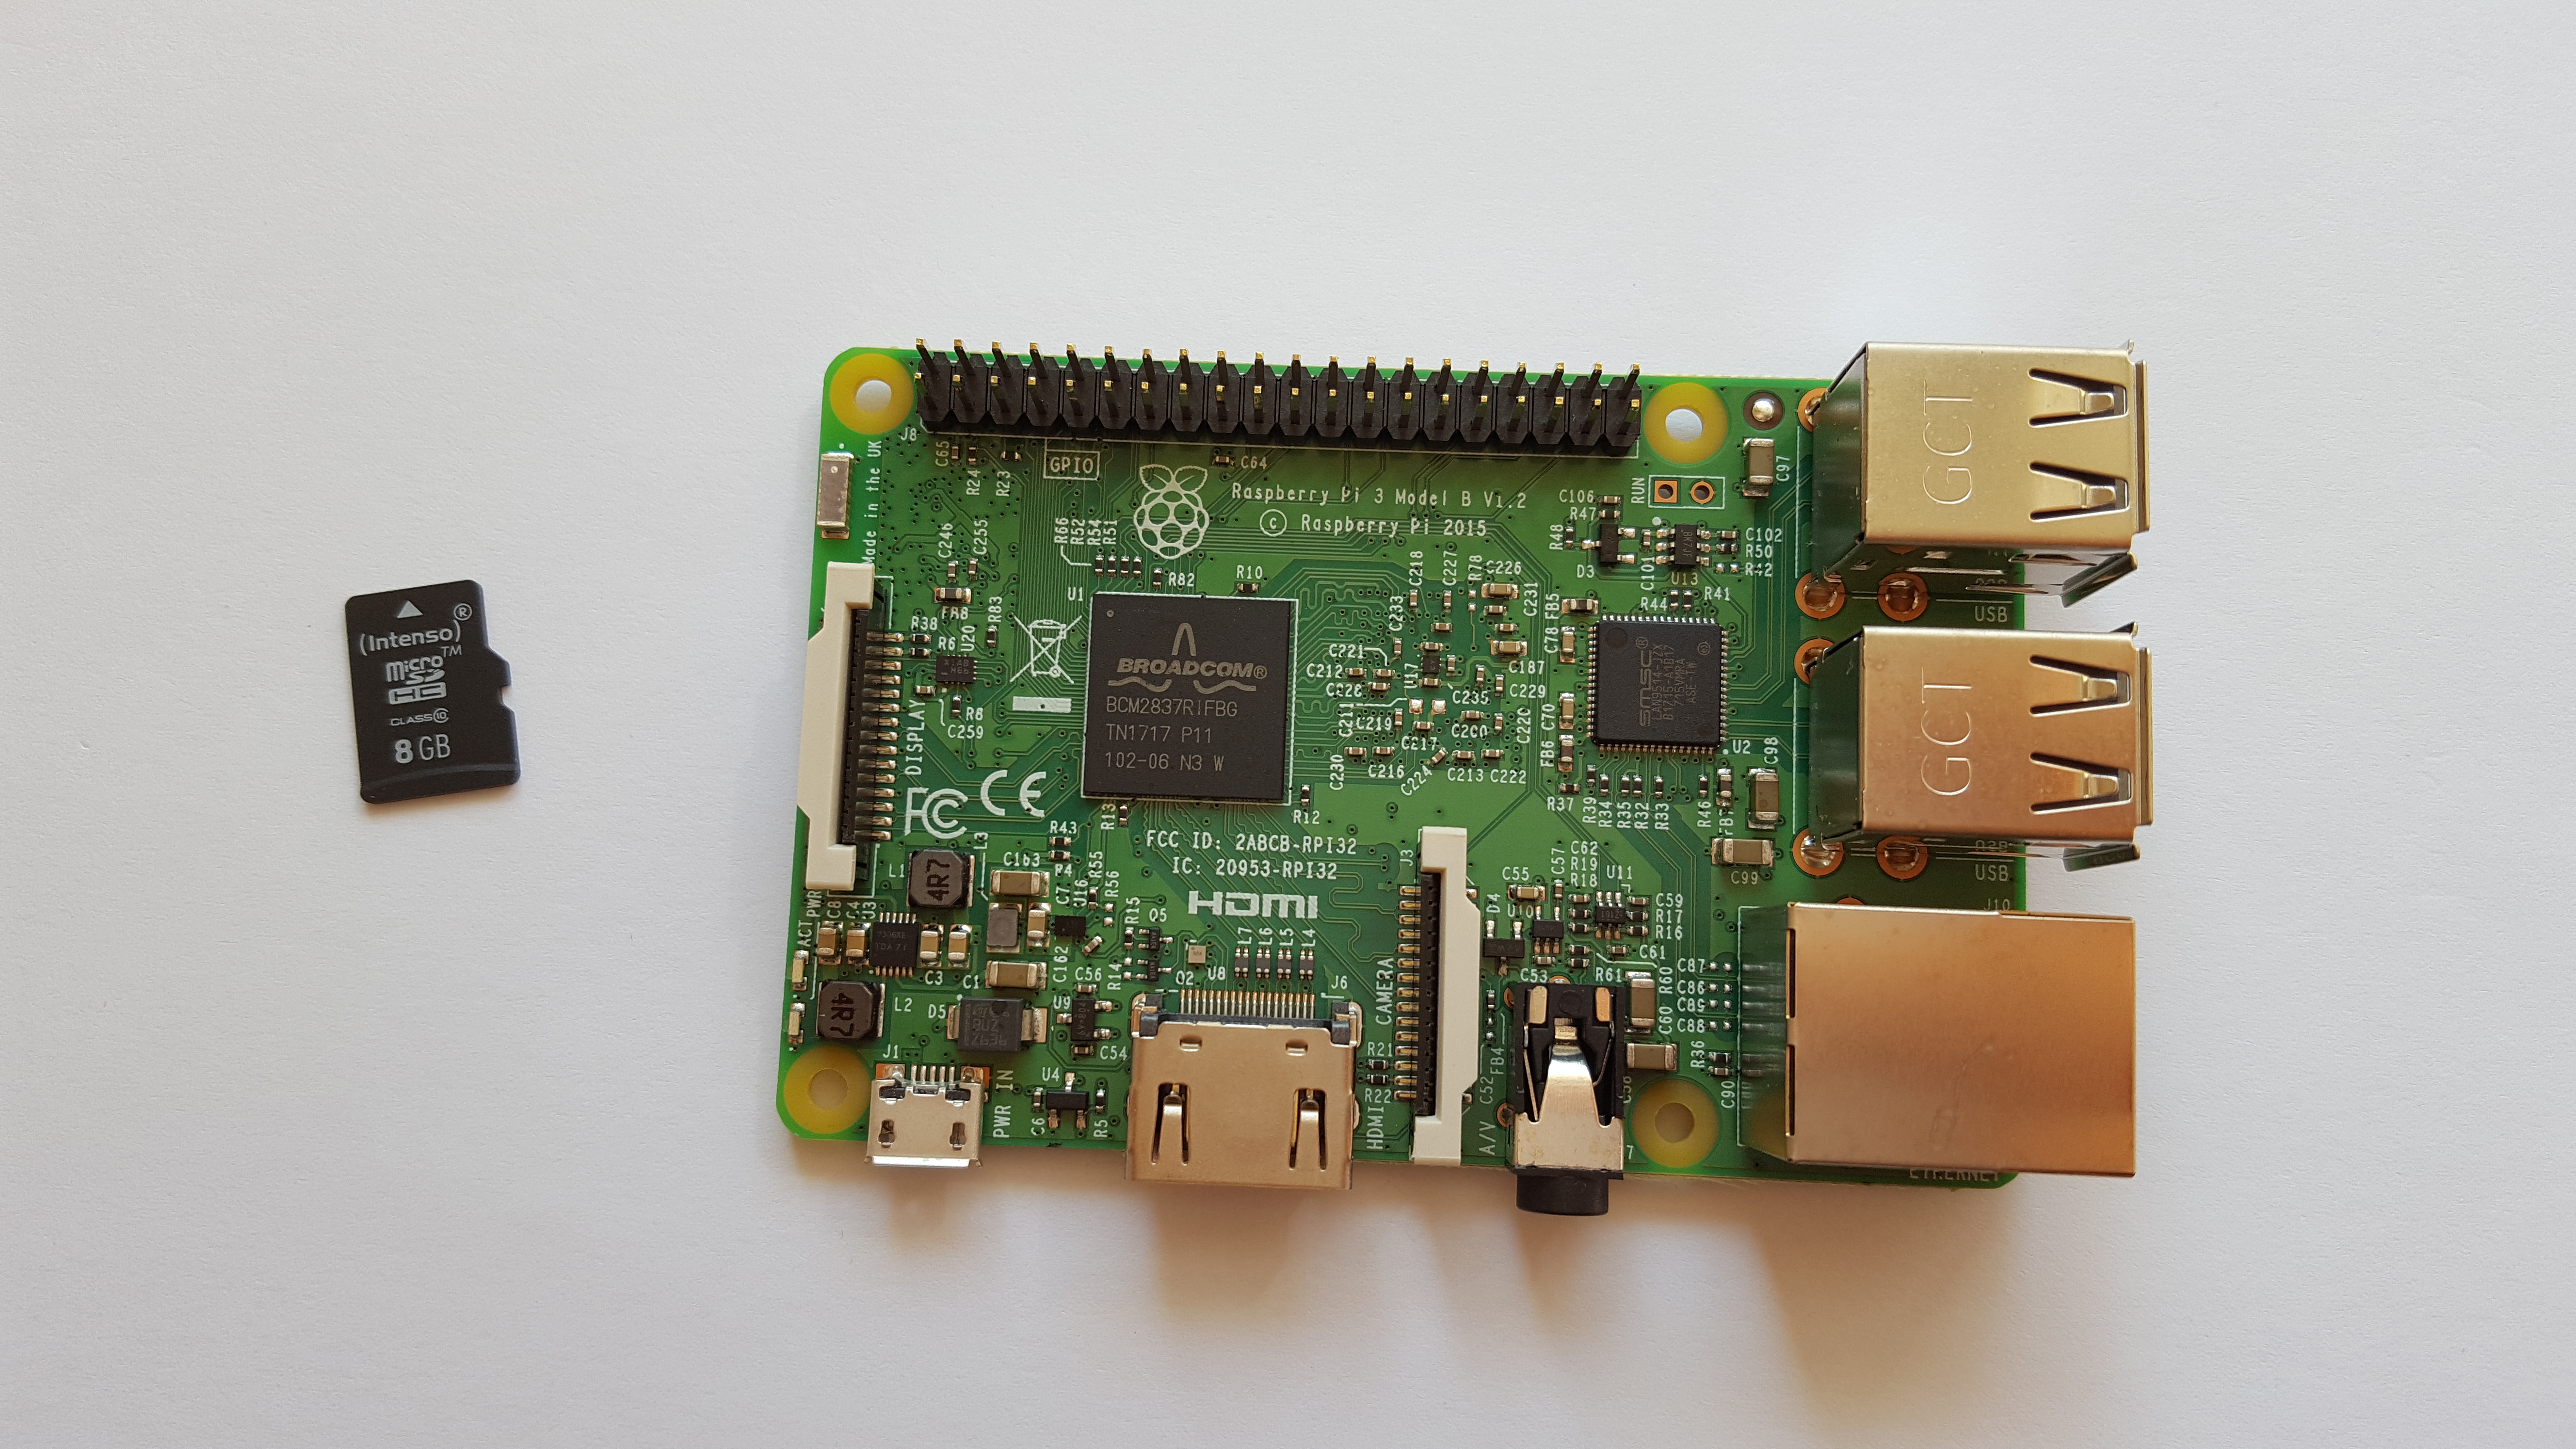
Your custom Git server requires the following hardware:
- A Raspberry Pi
- An SD card to host the Pi’s operating system
- A micro-USB charger for the Pi
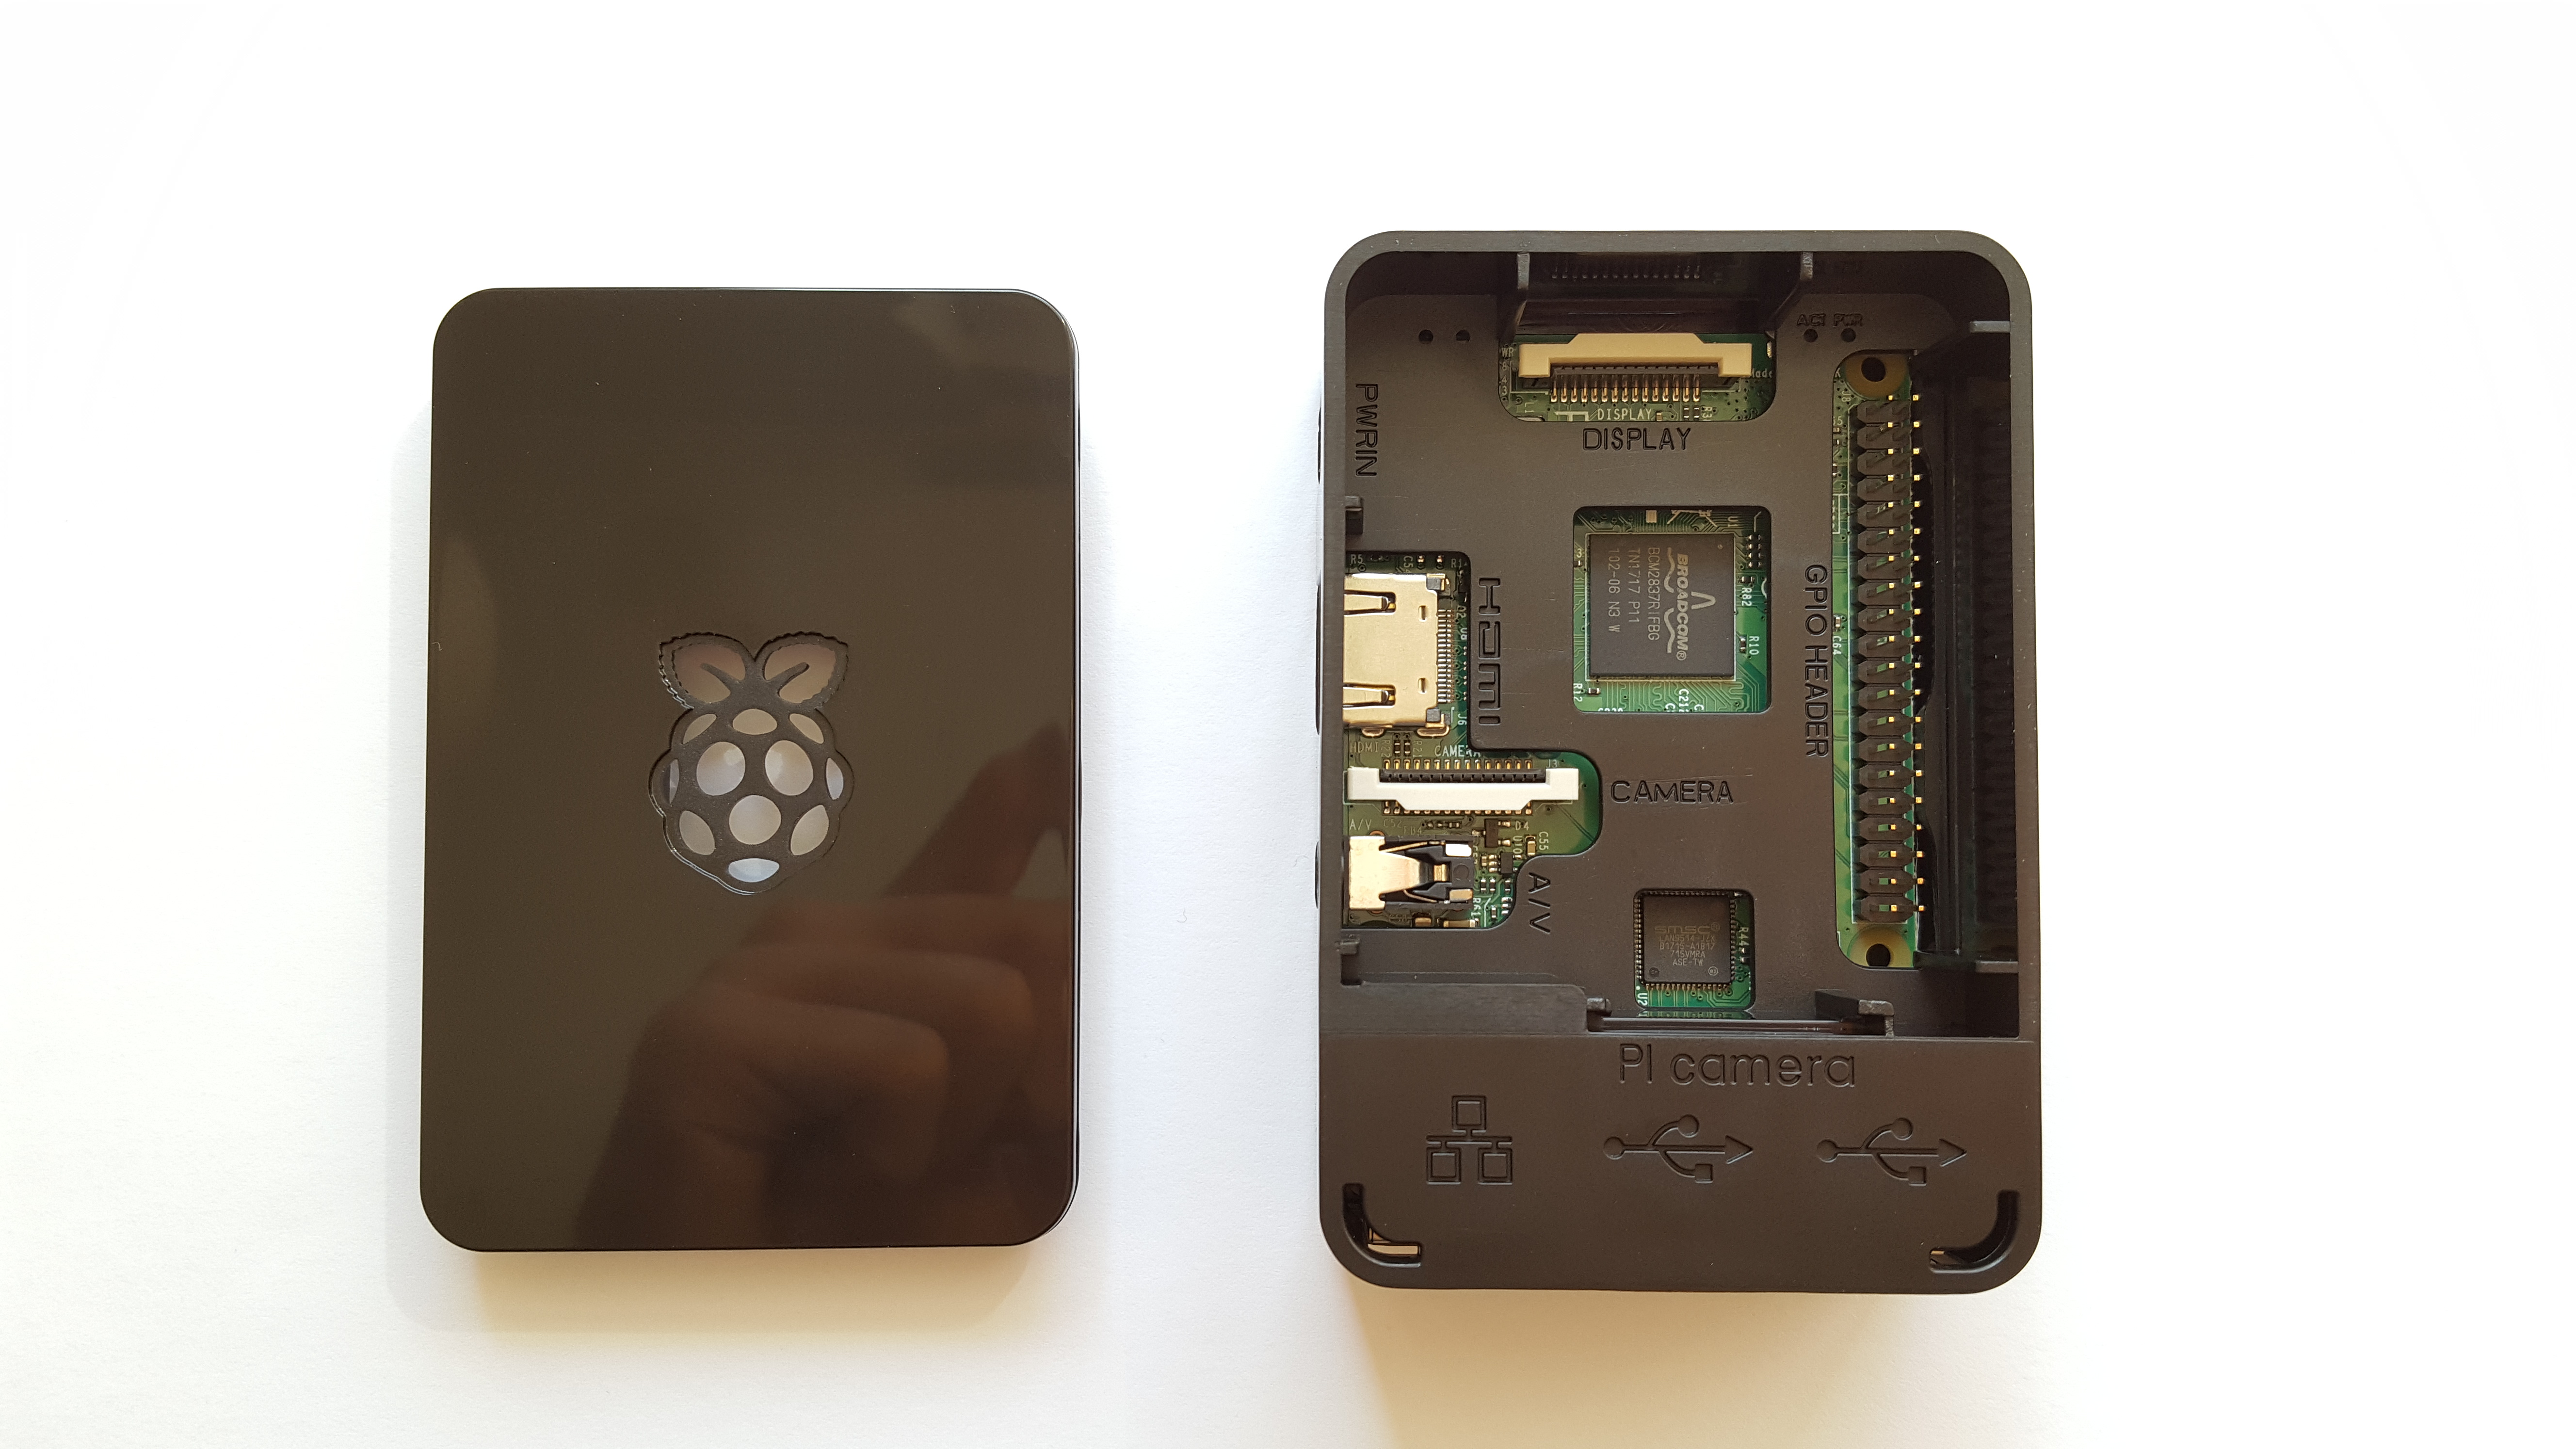
- Optional accessory: case for the Raspberry Pi
- Optional accessory: HDMI cable to watch installation process on external monitor


Software Requirements
You will need to install the following software throughout this tutorial. I recommend downloading and installing Nmap and Putty prior to starting with the actual tutorial.
How to Convert the Raspberry Pi into a Git Server
1. Download NOOBS from link and extract folder on empty SD card.
2. In the SD card's root directory open recovery.cmdline with a text editor. Append silentinstall.

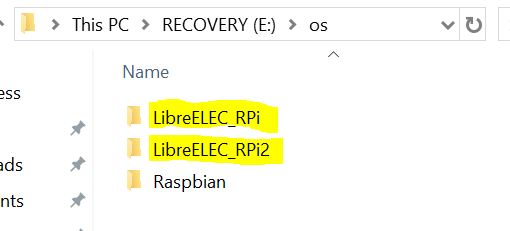
3. On SD card navigate to os directory and remove all other operating systems except for Raspbian.
4. Navigate into Raspbian subfolder and open partition_setup.sh with a text editor. Insert the lines starting with echo from the below code snippet and replace ...
- ...
COUNTRY_ISO_CODEwith your two letter country ISO code, which can be found here. - ...
WIFI_NETWORK_NAMEwith your actual WIFI network name. - ...
WIFI_PASSWORDwith your actual network password.
#!/bin/sh

set -ex

if [ -z "$part1" ] || [ -z "$part2" ]; then
  printf "Error: missing environment variable part1 or part2\n" 1>&2
  exit 1
fi

mkdir -p /tmp/1 /tmp/2

mount "$part1" /tmp/1
mount "$part2" /tmp/2

sed /tmp/1/cmdline.txt -i -e "s|root=[^ ]*|root=${part2}|"
sed /tmp/2/etc/fstab -i -e "s|^.* / |${part2}  / |"
sed /tmp/2/etc/fstab -i -e "s|^.* /boot |${part1}  /boot |"

echo 'ssh' >/tmp/1/ssh

echo 'ctrl_interface=DIR=/var/run/wpa_supplicant GROUP=netdev' >> /tmp/1/wpa_supplicant.conf
echo 'update_config=1' >> /tmp/1/wpa_supplicant.conf
echo 'country=COUNTRY_ISO_CODE' >> /tmp/1/wpa_supplicant.conf
echo '' >> /tmp/1/wpa_supplicant.conf
echo 'network={' >> /tmp/1/wpa_supplicant.conf
echo '    ssid="WIFI_NETWORK_NAME"' >> /tmp/1/wpa_supplicant.conf
echo '    psk="WIFI_PASSWORD"' >> /tmp/1/wpa_supplicant.conf
echo '    key_mgmt=WPA-PSK' >> /tmp/1/wpa_supplicant.conf
echo '}' >> /tmp/1/wpa_supplicant.conf

if [ -f /mnt/ssh ]; then
  cp /mnt/ssh /tmp/1/
fi

if [ -f /mnt/ssh.txt ]; then
  cp /mnt/ssh.txt /tmp/1/
fi

if [ -f /settings/wpa_supplicant.conf ]; then
  cp /settings/wpa_supplicant.conf /tmp/1/
fi

if ! grep -q resize /proc/cmdline; then
  sed -i 's| quiet init=/usr/lib/raspi-config/init_resize.sh||' /tmp/1/cmdline.txt
fi

umount /tmp/1
umount /tmp/2
5. Insert SD card into Raspberry Pi. Connect Raspberry to power supply, optionally connect Raspberry via HDMI cable to external monitor to monitor installation process. Wait for the installation to complete.
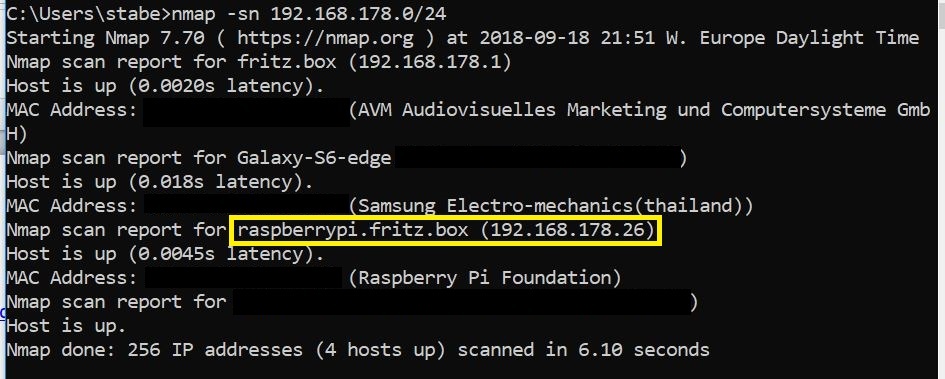
6. Use Nmap to scan local network for IP address of Raspberry.
From the Windows command line call Nmap –sn 192.168.178.0/24. You probably have to replace the IP search range start address by your rooter's IP address.
7. Connect to Raspberry Pi via SSH (Putty).
- Default user name: pi
- Default password: raspbian
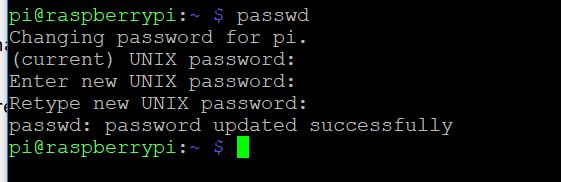
8. Change password: passwd
9. Set static IP for Raspberry Pi.
sudo nano /etc/dhcpcd.conf- Scroll (arrow keys) to bottom of script
- Append (adjusted by your actual IP addresses):
interface eth0 static ip_address = 192.168.178.26/24 static routers = 192.168.178.1 static domain_name_servers = 192.168.178.1 interface wlan0 static ip_address = 192.168.178.26/24 static routers = 192.168.178.1 static domain_name_servers = 192.168.178.1 - CTRL + o, Enter to save script
- CTRL + x to exit nano editor
- Check IP with
ip a

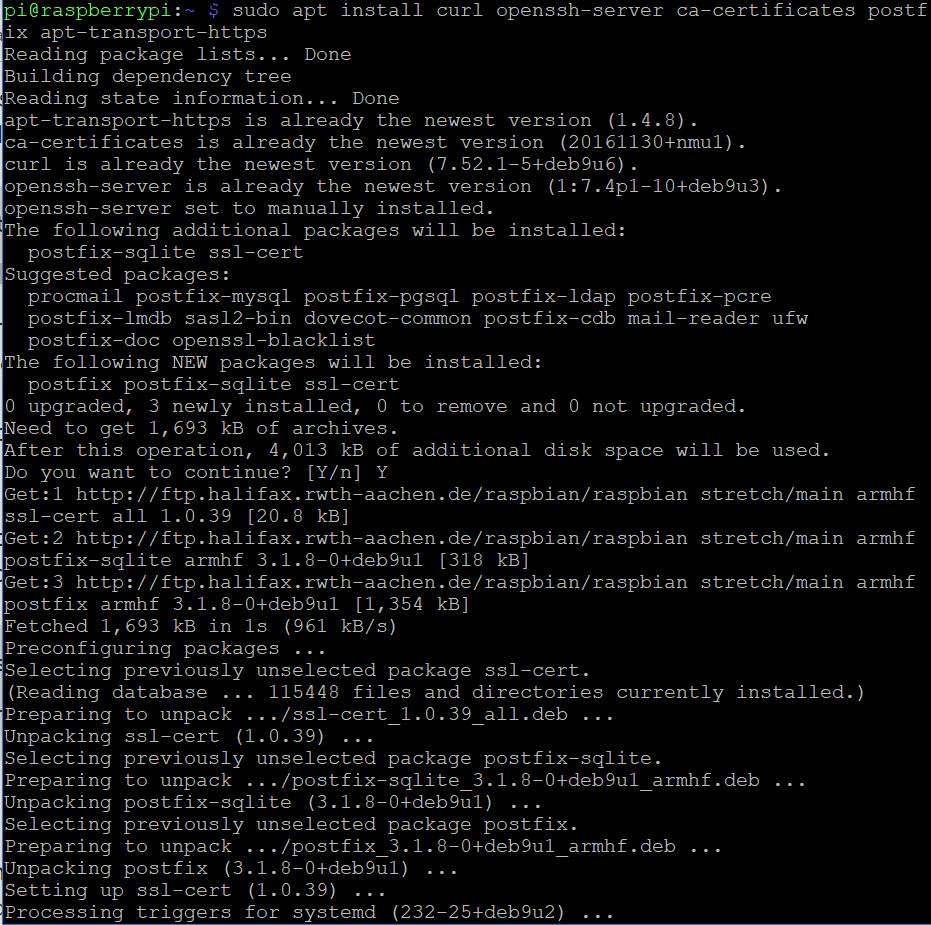
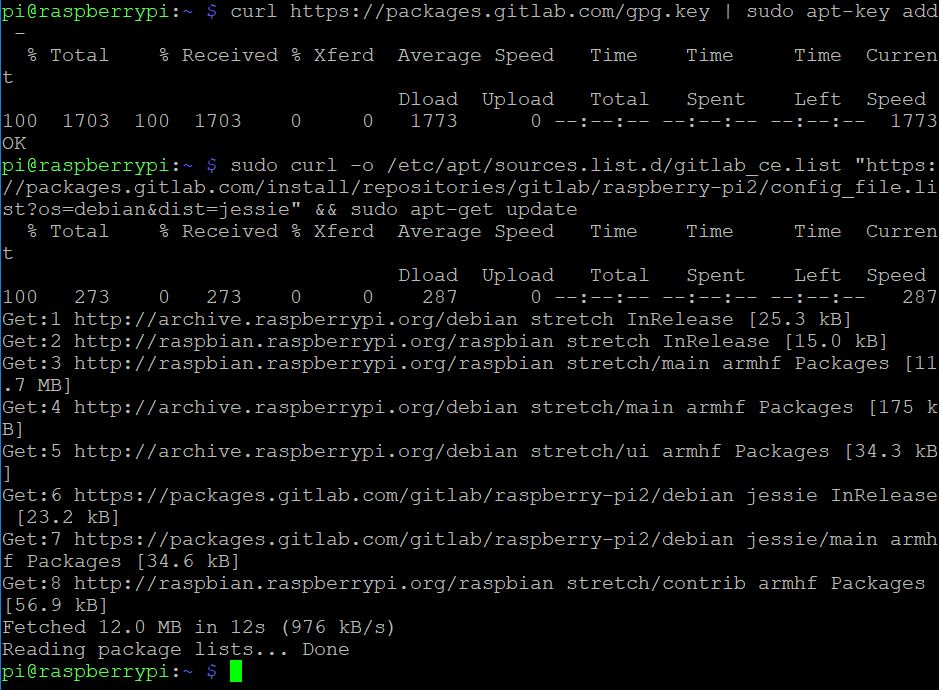
10. Download Gitlab.
- Run the following commands on your Raspberry Pi:
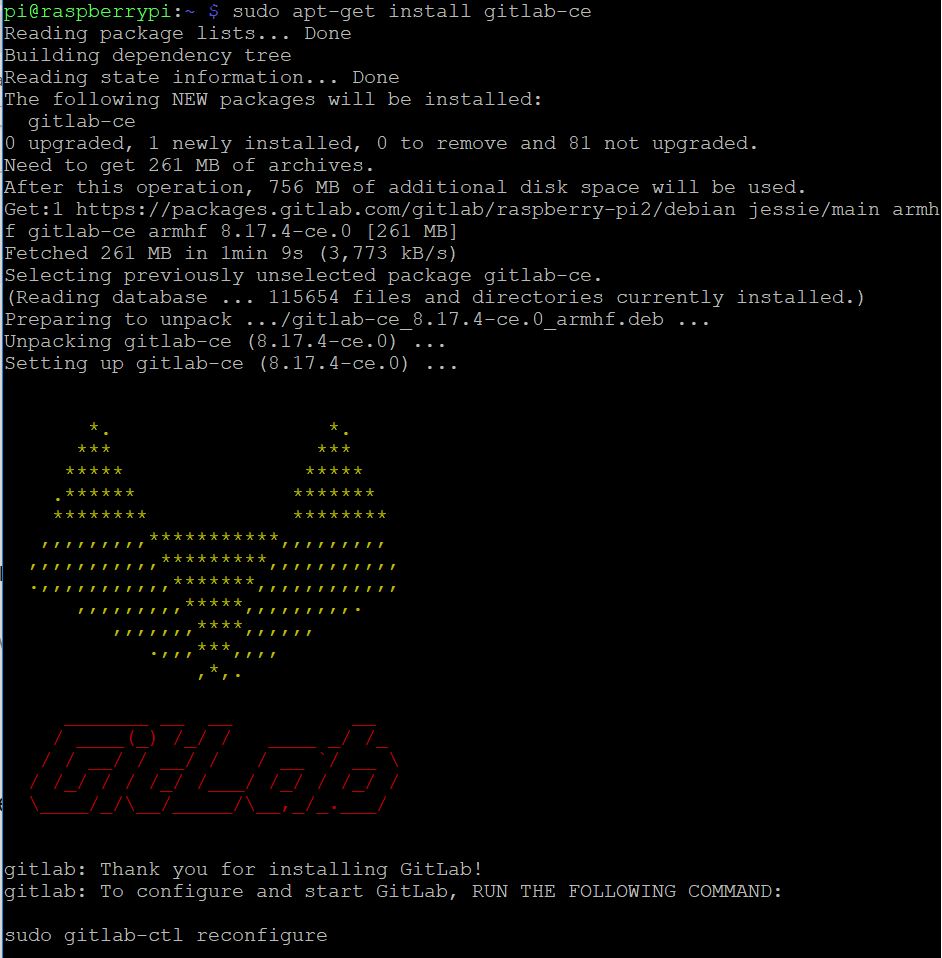
sudo apt install curl openssh-server ca-certificates postfix apt-transport-https curl https://packages.gitlab.com/gpg.key | sudo apt-key add - sudo curl -o /etc/apt/sources.list.d/gitlab_ce.list "https://packages.gitlab.com/install/repositories/gitlab/raspberry-pi2/config_file.list?os=debian&dist=jessie" && sudo apt-get update sudo apt-get install gitlab-ce sudo gitlab-ctl reconfigure - Log in to Gitlab by typing
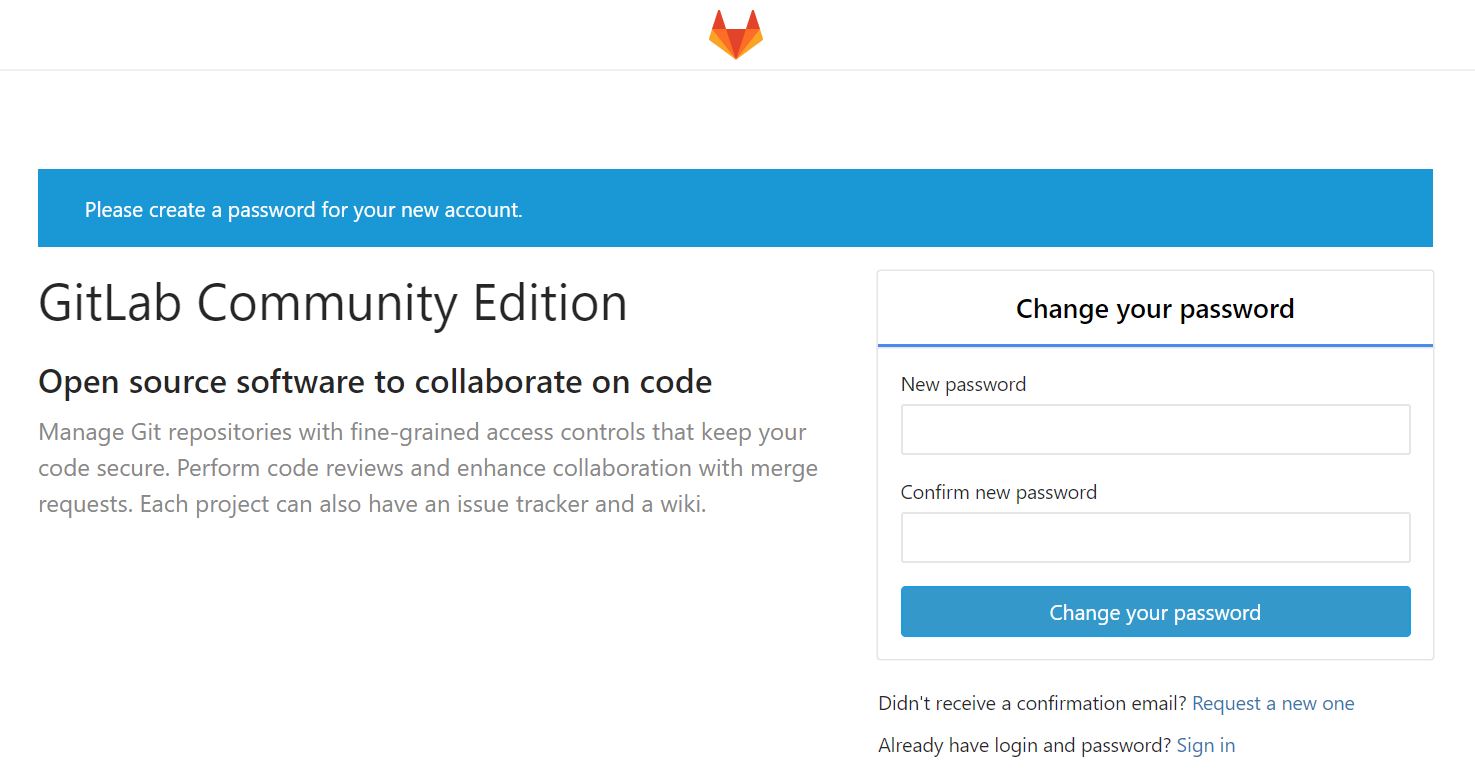
raspberrypi/into your browser. - Choose a password, the default user name is
root.
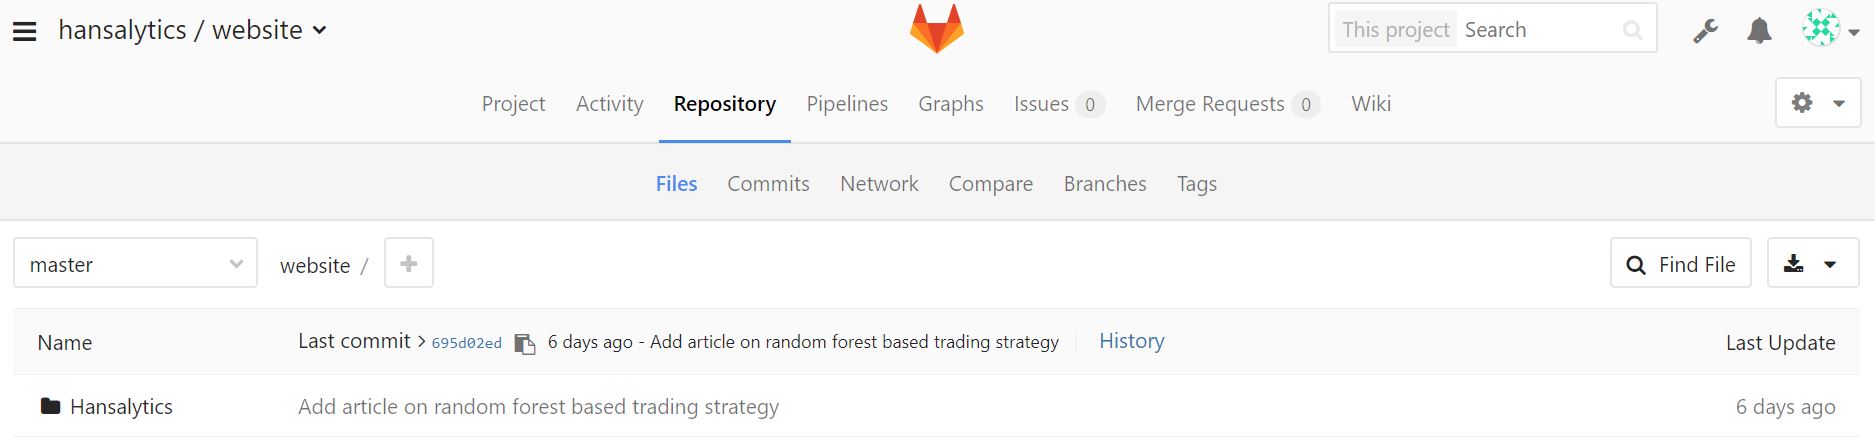
11. Create Git repository.
12. Push code to newly created remote repository.
